To reduce the size of the hard disk for a Windows Server 2012 virtual machine, do the following
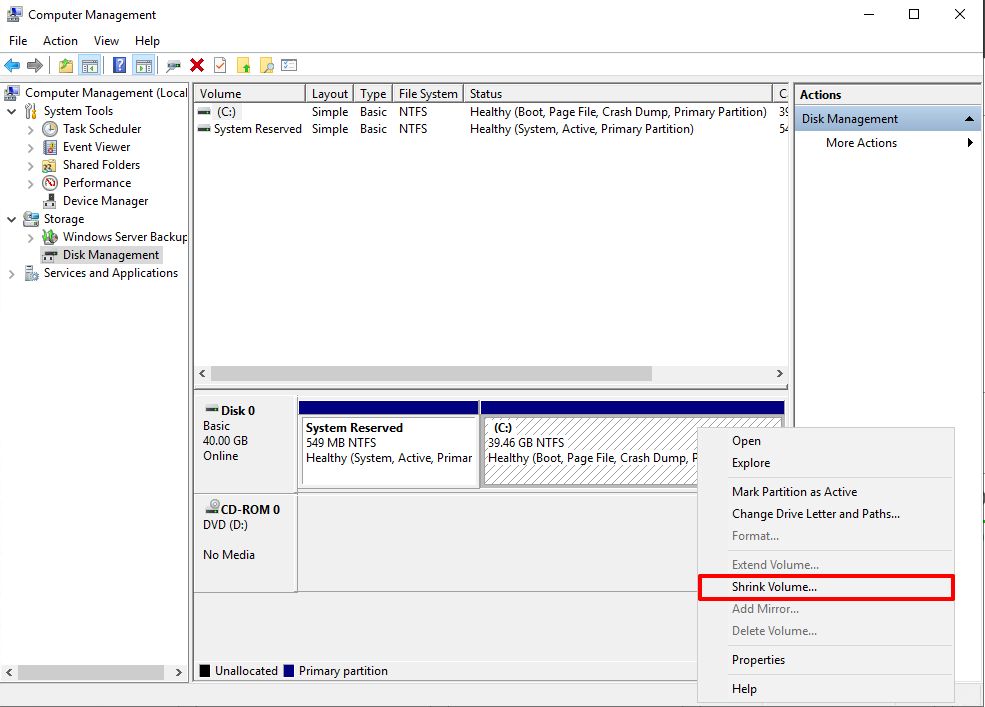
1. From the Computer Management section, select Disk Management. Right-click the required logical volume and select 'Shrink Volume'. Shrink the volume by a small margin, following the wizard's instructions.
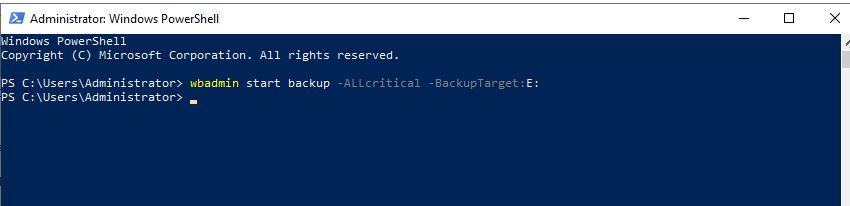
2. In the Cloud Control Panel, add a disk for the system image backup, format it and assign a letter to the new logical volume in the operating system. If necessary, install the Windows Server Backup System component and perform a backup using the wbadmin command, as shown in the figure.
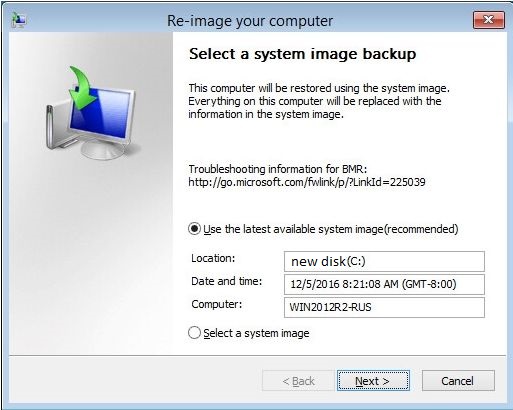
3. Switch off the machine. Remove the scratch disc. Insert a system recovery disc from an image. Mount the Windows Server distribution and turn on the machine, at the first step Windows Setup click Next, at the second step - Repair your computer.

4. In the window that appears, select Troubleshoot, then select System Image Recovery and use the wizard to restore the system..
5. Switch off the machine and remove the system image disc. Extending the system volume to an unallocated area of the scratch disc.
