If you want to store data in the cloud, you can connect to your Veeam Cloud Connect Service Provider (SP) and back up your Veeam Agent to the cloud.
Before installing Veeam Agent for Microsoft Windows, make sure that your PC meets the system requirements and that all required ports are active:
CPU: x86-64 processor.
Memory: 2 GB RAM.
Disk Space: 150 MB для установки агента.
Network: 1 Mbps or more.
The following 64-bit or 32-bit OS systems are supported:
• Microsoft Windows 7 SP1
• Microsoft Windows 8.x
• Microsoft Windows 10**
• Microsoft Windows Server 2008 R2 SP1
• Microsoft Windows Server 2012
• Microsoft Windows Server 2012 R2
• Microsoft Windows Server 2016
* Server Core installations of Microsoft Windows not supported.
* Microsoft Failover Clusters not supported.
** Microsoft Windows 10 Education supported starting from 10586 and further.
TCP ports:
Make sure that the following ports are active for Veeam Agent for Microsoft Windows to work properly.
10001 - is used by default to connect to the Veeam Backup server.
9395, 6183 – is used locally on a PC with Veeam Agent to exchange data between Veeam Agent components and Veeam Agent for Microsoft Windows Service.
6180 – the port on the cloud gateway is used to transport Veeam Agent data to the Veeam Cloud Connect repository.
80 or 443 - a PC with an iinstalled Veeam Agent which needs an access to the CRLs (Certificate Revocation Lists) CA (Certification Authority) of the Veeam Cloud Connect certificate issuer.
Download Veeam Agent for Microsoft Windows from our FTP:
(Login and password provided by our technical support)
ftp://178.170.172.10:11111/windows/
Install the agent by accepting the license agreement, after installation the agent will ask you to install the license (provided by the technical support service)
Launch Veeam Agent for Windows:

Then click “Configure backup”, and configure the task to remove the backup in accordance with your requirements. You will run the task with the default settings, but execute it in the Veeam Cloud Connect repository.
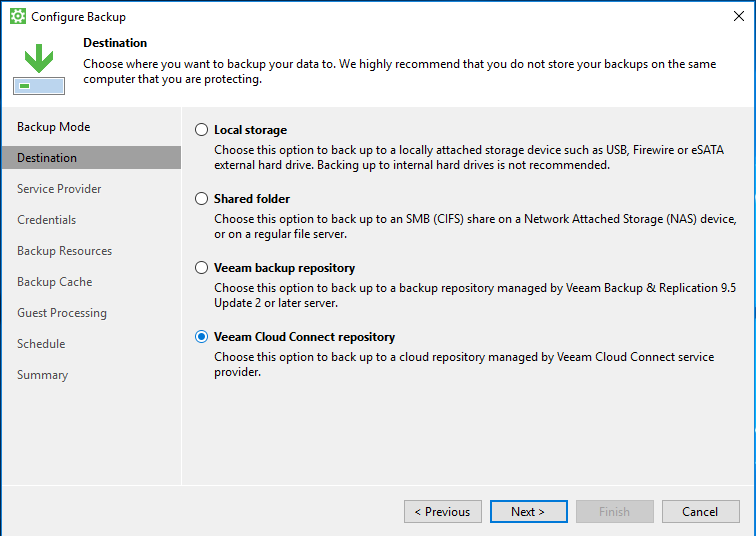
To do this, in the next step (destination), we need to select the Veeam Cloud Connect repository:

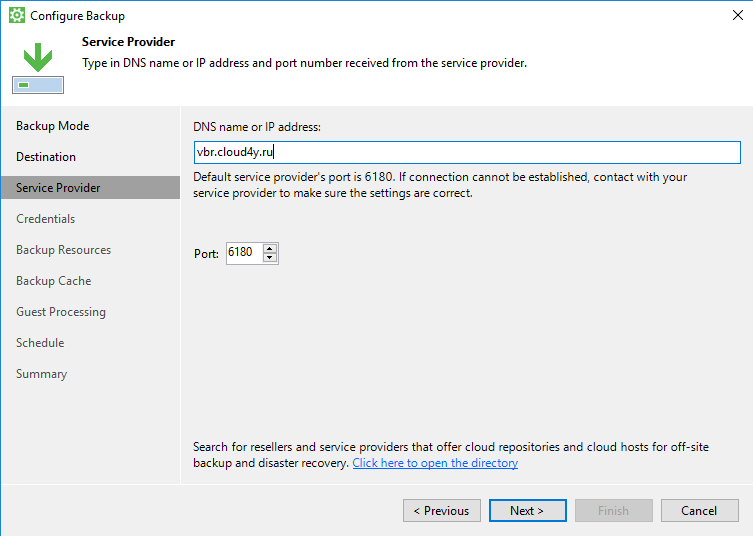
Indicate then the address of Veeam Cloud Connect repository: vbr.cloud4u.com

In the next tab, notice login and pass received from the technical support service:
The letter contains the following information:
Username: company \ user
Password: password
You will need user & password.

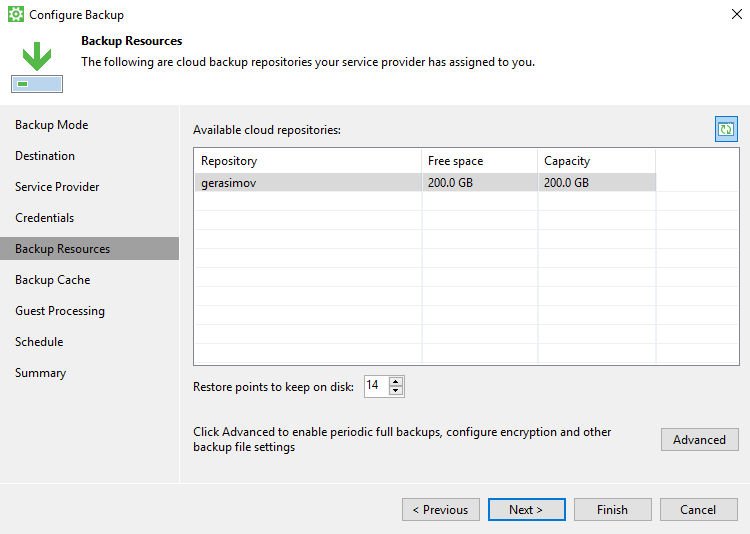
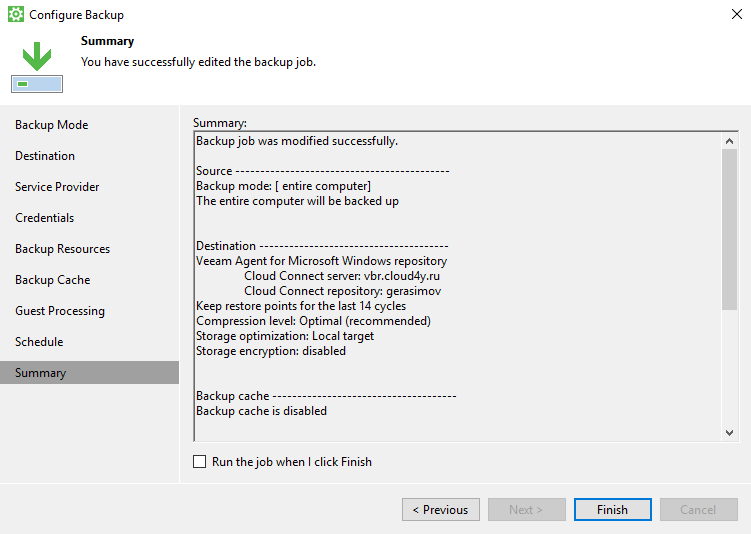
Then “next…next…nest…finish”


