1. Install the AWS CLI
-
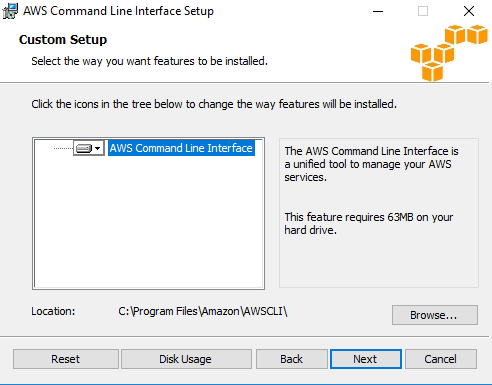
Windows: Download and run the appropriate installer (64-bit or 32-bit) from AWS, then follow the setup prompts.
-
macOS and Linux: Ensure Python 2.6.5 and Python Package Installer are installed, then run:
pip install awscli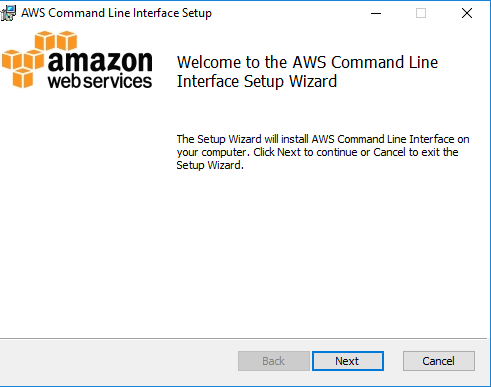
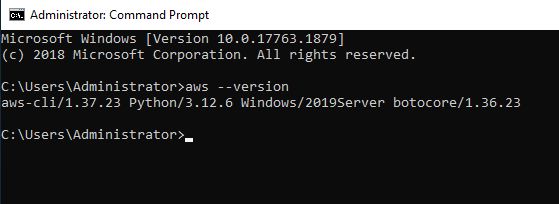
After installation, verify it with:
aws --version
2. Configure Your Profile
-
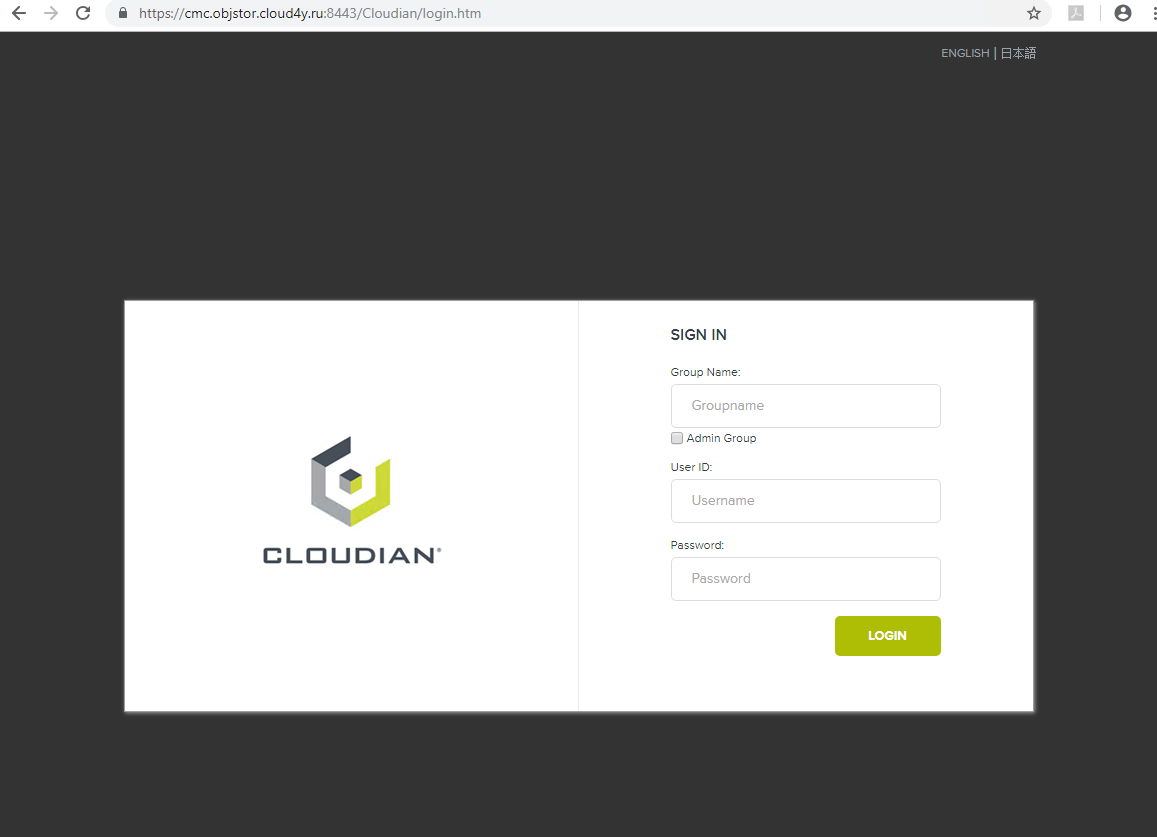
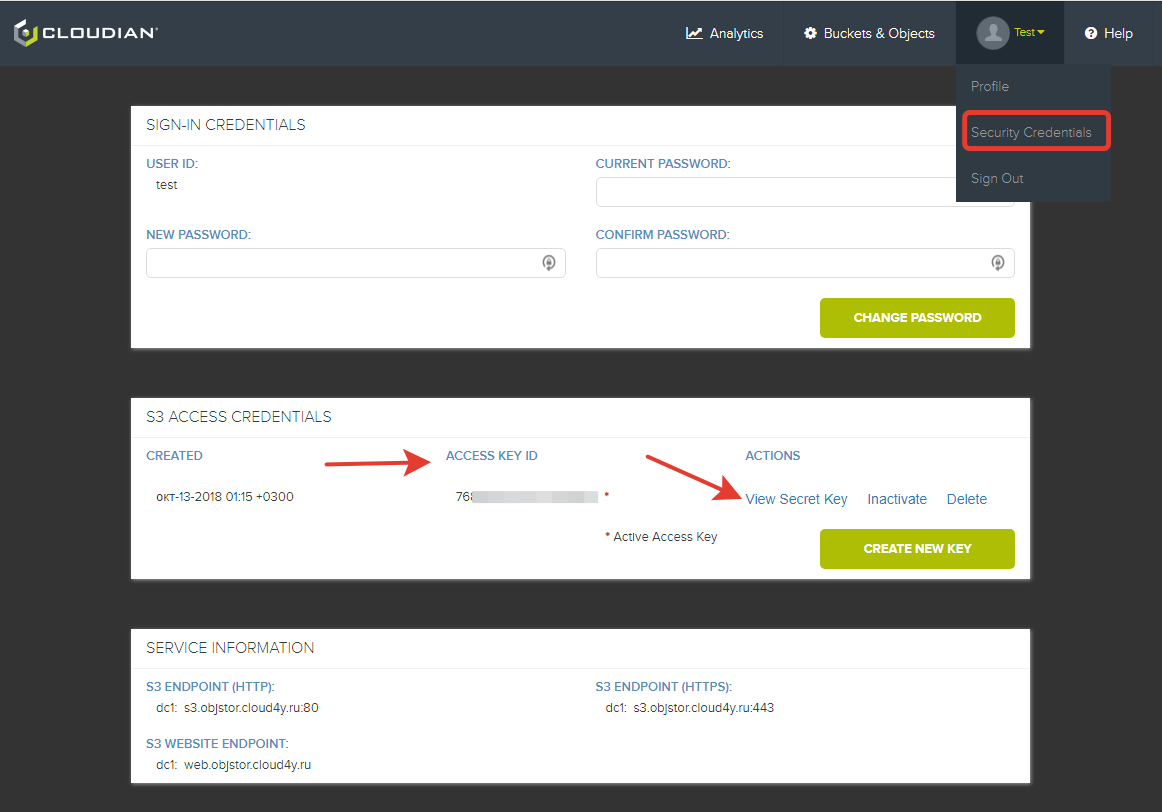
Log in to the Cloud4U administration panel at:
https://cmc.objstor.cloud4u.com:8443
Use the credentials provided by Cloud4U support or your S3 administrator.
2. Navigate to Security Credentials and note your Access Key ID and Secret Key.
Configure a CLI profile. You can either set a global profile with aws configure, or create a named profile.
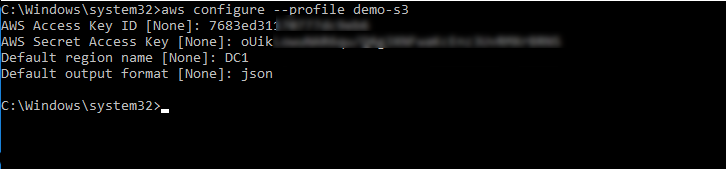
Example — creating a profile called demo-s3:
aws configure --profile demo-s3Enter the requested information:
-
AWS Access Key ID:
7683ed31dcXXXXXXXXX -
AWS Secret Access Key:
oUiK3XXXXXXXXXXXXXXXXXXX -
Default region name:
K41 -
Default output format:
json(options:json,text,table)
In the example we chose json.
To make this profile the default:
setx AWS_DEFAULT_PROFILE demo-s3Restart your console for changes to apply.
Profile configuration files are stored in:C:\Users\USERNAME\.aws\ (Windows) or ~/.aws/ (macOS/Linux).
3. Start Using S3
Use the appropriate endpoint for all S3 commands:
-
HTTP:
http://s3.objstor.cloud4u.com:80/ -
HTTPS:
https://s3.objstor.cloud4u.com:443/
3.1 List Buckets
With a named profile:
aws s3api list-buckets --endpoint-url https://s3.objstor.cloud4u.com:443/ --profile demo-s3With the default profile:
aws s3api list-buckets --endpoint-url https://s3.objstor.cloud4u.com:443/To change output format:
aws s3api list-buckets --endpoint-url https://s3.objstor.cloud4u.com:443/ --output textIf you see Unable to locate credentials, verify your profile setup and key values.
3.2 Create a Bucket
aws s3api create-bucket --endpoint-url https://s3.objstor.cloud4u.com:443/ --bucket demo-s3-bucket --acl public-readACL options include: private, public-read, public-read-write, authenticated-read.
Access your bucket via:
http://s3.objstor.cloud4u.com/demo-s3-bucket
Do not usehttp://demo-s3-bucket.s3.objstor.cloud4u.com.
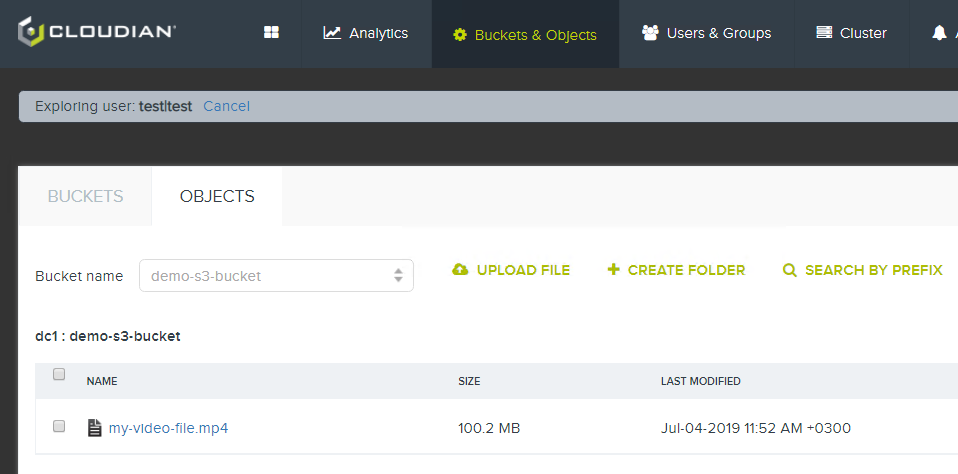
3.3 Upload a File
aws s3api put-object --endpoint-url https://s3.objstor.cloud4u.com:443/ --bucket demo-s3-bucket --key my-video-file.mp4 --body C:\Upload\my-video-file.mp4A successful upload will return object details in JSON format.
You can also review and manage these actions in the Cloud4U administration panel.
For more commands and detailed usage, refer to the AWS CLI S3 documentation.
